Integrating Clem with Cursive
Clem is a program intended to make development with Clojure easier by helping explain Clojure’s sometimes cryptic error messages. It integrates with your REPL an uses an online database to attempt to find more human-friendly messages to explain your errors.
This post will go through the steps required to integrate Clem with Cursive.
This post assumes you have Cursive already installed (if not, follow this tutorial).
- Create a new deps.edn Clojure project
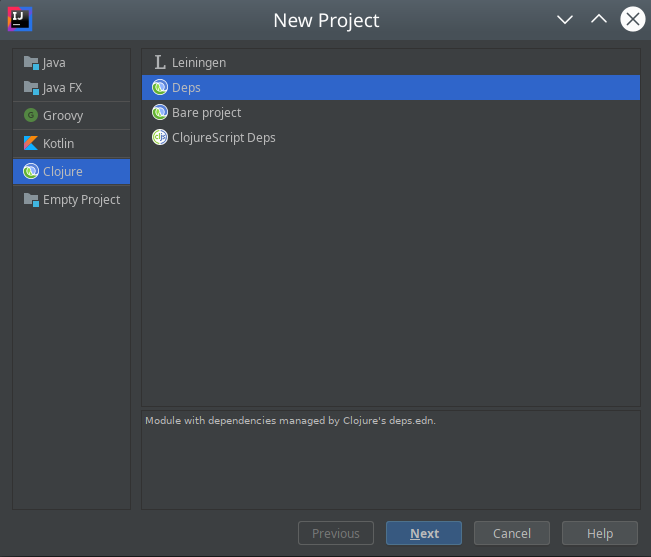
- Choose a name for the project. For this example, will use
clem-proj. Edit the
deps.ednfile so that it looks like this:{:deps {clem-repl {:mvn/version "0.1.2-SNAPSHOT"}}}- Right click the top-level project directory and select New -> Directory, and name it
src - Right click the
srcfolder and select New -> Clojure Namespace - Give the namespace a name like
clem-proj.core. Remember this namespace, we’ll need it later. - Right click the top-level project directory and select New -> File, name the file
.clem-repl.edn. The leading period is important. Edit
.clem-repl.ednand include the following map:{:host-domain "http://clem.applab.unc.edu" :project-namespace 'clem-proj}The hostname is the URL to the server which hosts your clem database. This URL is the server hosted by the AppLab.
The project-namespace is the root level prefix for your project. In this case it is simpleclem-proj(the first part ofclem-proj.core).- Right click the top-level project directory and select New -> File, name the file
.nrepl.edn. The leading period is important. Edit
.nrepl.ednand include the following map:{:middleware [edu.unc.applab.clem-repl.nrepl-middleware/clem-caught]}- Start a repl by right-clicking
deps.ednand selecting Run REPL for clem-proj. Code as normal. Errors will be caught by Clem and compared to the database.